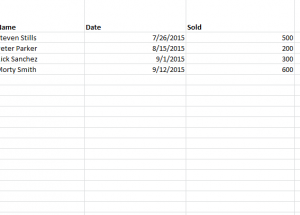
Unlocking specific cells in a spreadsheet is a very useful tool if you’re sharing files for a project or class assignment. You can save portions of your document by protecting the page and keep certain cells open for editing. You never have to worry about your work being deleted or changed; this handy function will work seamlessly throughout your entire document, ensuring that your project is exactly how you need it to be. Learn how to unlock specific cells in a spreadsheet by reading the guide below.
How to Unlock Specific Cells in a Spreadsheet
Protecting your spreadsheet is just a great way to save your document from the various changes and deletions it may be subject to, specifically when you are sharing a document among a group. However, sometimes you need to leave certain cells unprotected so your group members have access to change them.
To start, please download the sample spreadsheet provided at the bottom of this page or use your own spreadsheet to follow along with this tutorial.
- Start by clicking on the cell you want to leave unprotected.
- In the Home ribbon at the top, select the “Format” button. This will display a drop-down menu.
- Next, click on the “Lock Cell” option to unlock the cell you have selected.
- Make sure that the lock icon to the left of the “Lock cell” option is NOT highlighted when you click on your desired cell and go back into the “Format” menu.
- Now you can click “Ctrl + A” to highlight the rest of your document.
- Go back to the “Format” menu and select “Protect Sheet” from the drop-down menu.
- Now, everything except your unlocked cell cannot be edited or changed.
You can continue to use this method for multiple cells. Simply go through and repeat the process for any cell you want to leave open for editing.
Download: Unlocking Specific Cells in Excel
Check out this offer while you wait!

